REST Put
Reference documentation for using the REST API REST Put action
Written By Support Channel
Last updated About 1 year ago
Overview of the REST Put action
The REST Put action allows you to update or replace an existing resource in an external system using an HTTP PUT request.
Understanding the REST Put action
The REST Put action is used to update or completely replace an existing resource in an external system. Unlike the REST Post action, which is often used to create new resources and may produce different results if triggered multiple times, a REST Put action will run the same request multiple times and should always result in the same outcome.
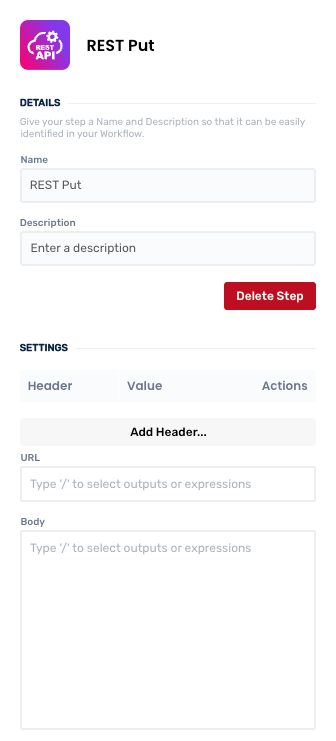
Headers
A list of header names and values for the API request. For example:
Content-Type: “application/json”
Authorisation: “rest_api_key=1234”
URL
Specify the endpoint where the PUT request should be sent.
Body
Specify the content the PUT request will be sending.
Working with the REST Put action
The REST Put action is especially useful when syncing updates from one system to another such as updating a user’s profile or changing a status field in a connected platform.
Additionally, you should set the appropriate Content-Type header such as application/json for JSON or application/xml for XML. This lets the server know how to interpret the incoming data. Sending incorrectly formatted data or omitting the correct header can cause the request to fail or be rejected by the API.
Output Variables
Create and manage REST Put actions
Add a REST Put action
Add the action
Use the following steps to add the action to your workflow.
Configure the action
Use the following steps to configure the action.
Click Add Header to create a new header entry. This reveals the Header popup.
Select Header and type the name of the header.
Select Value and input the value of the header
Click OK to complete setup of your new field value.
Repeat the above steps for any addition additional headers needed.
Set a value for the URL and Body.
Click back in the main view to hide the slide-over.
Edit the action
Use the following steps to make changes to the action.
Edit an existing Header entry by clicking on it. This displays the Edit Header popup and allows you to make changes.
Remove an unwanted entry by clicking the red cross toward its right-side.
Click back in the main view to hide the slide-over.
Delete a REST Put action
Use the following steps to remove the action from your workflow:
Take care when deleting an action to also remove any logic using its outputs: workflow steps may function incorrectly or break if they attempt to evaluate an output of a deleted action.